Few things test a watch modder’s patience like aligning hands. You can replace a crystal, polish a bezel, or even swap a movement — but if your hands aren’t perfectly lined up, the whole build looks off. Precise alignment is what separates a clean professional finish from a “good enough” DIY job.
The challenge is that misalignment is often subtle. The hour and minute hands may look fine at first glance, but drift apart when the time hits noon. Sometimes the second hand stops mid-sweep. Getting it right takes practice, understanding the mechanics behind hand height and movement gearing, and the discipline to redo it when it’s not perfect.
This guide explains how to achieve precise hand alignment every time — not through luck, but through method.
Understanding Why Alignment Matters
Perfect alignment is more than cosmetic. Watch hands sit on separate pinions connected to different gear ratios in the movement. When they aren’t positioned correctly, several things can go wrong:
- Timing appears inconsistent — the hour hand points slightly off each marker, even when the minute hand is at twelve.
- Hands interfere with one another — especially the second hand, which may snag if clearances are off.
- Gear tension increases — pressing hands too deeply or crookedly can create friction and cause amplitude loss.
- Dial symmetry suffers — your watch will always look a little “off,” even if everything else is perfect.
When aligned properly, each hand moves smoothly, clears the others cleanly, and snaps back to reference points precisely at each full rotation.
Preparation and Minimal Tool Setup
You don’t need a full watchmaking bench to align hands accurately, but a few essential tools make the process easier:
- A stable movement holder
- A hand press/setter with different tip sizes
- A hand remover tool (for corrections)
- Tweezers for precise handling
- A loupe or magnifying lens for alignment verification
- Protective plastic film to cover the dial
You can find these tools individually or as part of a set through Sugargoo’s watch repair tools section or the watchmaker’s toolkit checklist.
If you’re just starting out, a small kit with these essentials will take you through most hand installation and alignment tasks.
Setting the Movement to the Correct Reference Point
The foundation of perfect alignment is knowing exactly where “zero” is — in watchmaking terms, that’s midnight, the moment the date flips.
Before installing any hands:
- Pull out the crown to the time-setting position.
- Rotate the hands slowly until the date changes. That instant marks 12:00 midnight.
- Once the date wheel completes its click, continue turning until you are certain the switch is complete — a halfway change can cause hour-hand drift later.
This step ensures your hour and minute hands are calibrated to the same gear phase. Many alignment issues occur simply because builders install hands when the date wheel is still engaged.
Installing the Hour Hand
Place your movement securely in a holder. The hour hand goes first because it sits at the lowest level on the pinion stack.
Position the hand exactly at 12:00.
Use a flat nylon-tipped hand press to push it down evenly.
Apply gentle, centered pressure. Do not rock or tilt the tool.
Check from multiple angles. The hand should sit parallel to the dial, clearing all applied indices or markers. If it looks slightly uneven, remove it with your hand remover and reinstall — small misalignments at this stage will only multiply later.
Installing the Minute Hand
Rotate the crown until the hour hand completes one full rotation back to twelve. This verifies your gear phase. Now install the minute hand:
- Place it precisely at the 12:00 marker.
- Press straight down with the appropriate tip.
- Check the gap between the hour and minute hands — there should be a small, even clearance so they don’t touch.
Once installed, rotate the movement again. When the hour hand reaches the halfway point between 12 and 1, the minute hand should be pointing at the 6 o’clock marker. If not, you’re one gear tooth off and must reset.
Installing the Second Hand
The second hand sits on the topmost pinion and is the most delicate to install. Use fine tweezers to place it exactly at 12:00, then press lightly with the smallest tip on your hand setter.
Spin the crown gently to confirm it sweeps cleanly without hesitation. If it hesitates or bounces, it’s too deep; remove and reinstall slightly higher.
Testing Alignment Across the Dial
Once all hands are mounted, alignment must be checked through a full 12-hour cycle. Turn the crown slowly:
- Each hour, the minute hand should return precisely to twelve when the hour hand hits the hour marker.
- Observe the clearance as hands pass each other — no brushing or jumping.
- Check the date switch again at midnight; the date should flip exactly as the hands meet at twelve.
Even a one-minute offset can make the hour hand appear misaligned after several hours of rotation.
Adjusting a Misaligned Set
Realigning requires patience, not force. If you notice any misalignment:
- Pull the crown to stop the movement.
- Cover the dial with protective plastic.
- Use a hand remover to lift the hands evenly.
- Reset the hour hand at 12:00 and reinstall the rest following the same process.
Do not attempt to “nudge” a misaligned hand with tweezers — it may loosen the friction fit or bend the shaft.
Understanding Hand Height and Clearance
Alignment is not only about angle; vertical clearance plays a huge role. Each movement has a specific “hand height” configuration, which defines the vertical space between the hour, minute, and second hands.
If your hands are too thick or pressed too deeply:
- The hands will rub or stall.
- The second hand might scrape against the crystal.
- The watch may run but lose amplitude or stop entirely.
When buying new replacement hands Always confirm their size matches your movement.
For instance:
- Seiko NH35/NH36: Standard hand height, compatible with most mod parts.
- Miyota 8215: Slightly thinner hands; pressing too hard easily causes drag.
- ETA 2824: Higher spacing for thicker luminous or skeletonized hands.
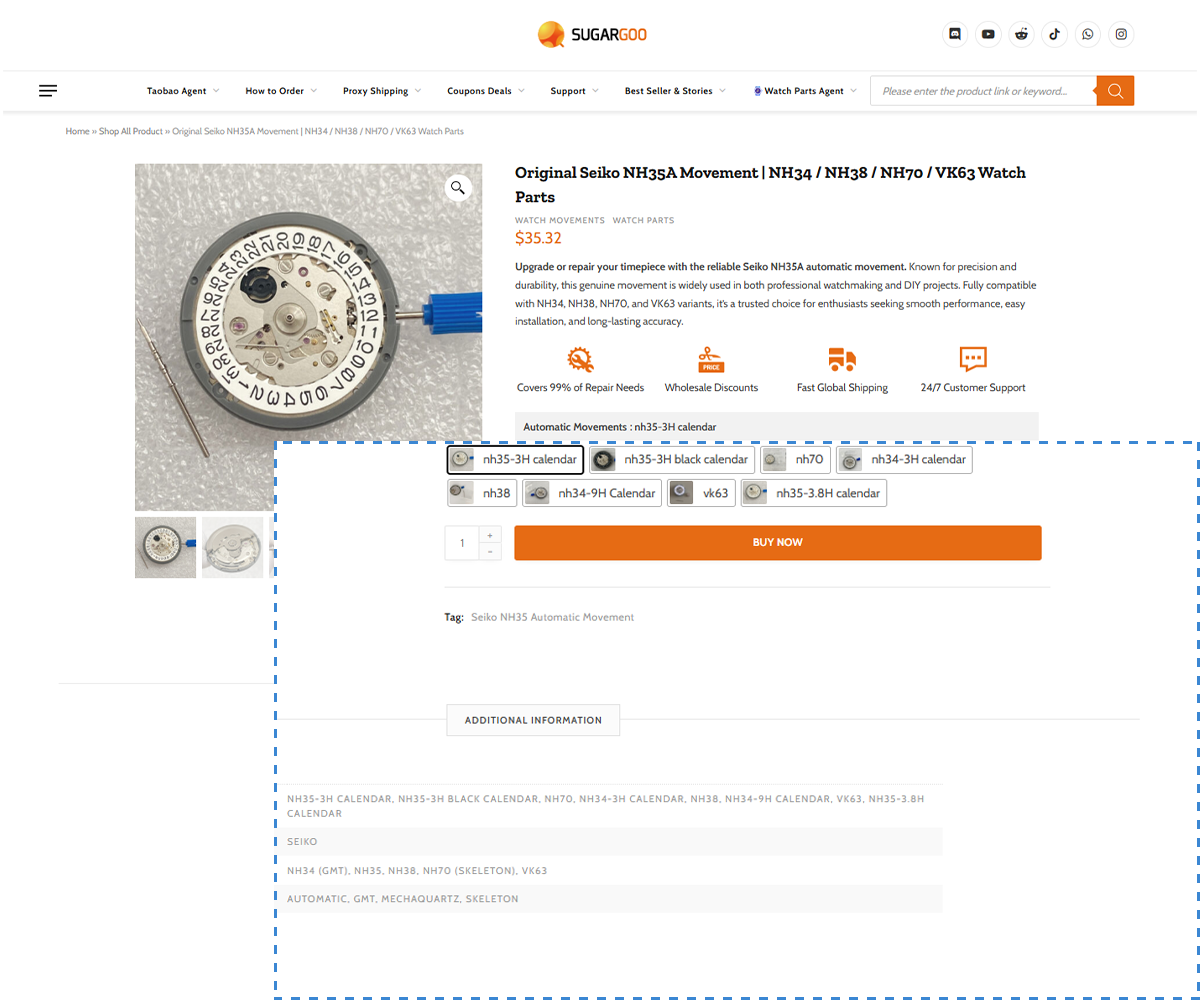
You can explore matching options for each of these on Sugargoo’s watch parts and movements section.
Diagnosing Alignment Problems
Below is a single reference table summarizing the most frequent alignment problems and their solutions.
| Problem | Likely Cause | Recommended Fix |
|---|---|---|
| The hour and minute hands are not pointing to twelve together. | Installed at different gear phases. | Reinstall hands after confirming the date flip at midnight |
| Second-hand stutters or stops. | Hand pressed too deeply / contact with the minute hand. | Remove and reinstall slightly higher |
| Minute hand lagging behind over time, | Friction or slipping on the pinion. | Repress gently or replace the hand with the correct diameter |
| Hands scrape the crystal after casing. | Crystal or gasket pressure. | Check the case gasket height and re-seat the hands slightly lower |
| Uneven hand levels. | Tilted pressing or a wrong setter tip. | Press vertically using a level movement holder |
Use this as a diagnostic checklist each time you test your alignment.
Fine-Tuning for Precision
Professional watchmakers rarely get alignment perfect on the first try — they adjust multiple times to achieve “visual zero.” Here are key habits that help:
- Always verify the true midnight position using the date change.
- After pressing each hand, rotate a full 12 hours before proceeding.
- Use consistent lighting when judging alignment; shadows can mislead your eye.
- Keep your loupe at a low angle, not directly overhead, for better depth perception.
- Never press harder than necessary — precision depends on control, not force.
It’s normal to repeat the process a few times. Precision work rewards patience.
Preventing Future Misalignment
Once you’ve cased your watch and alignment is perfect, keep it that way:
- Avoid dropping or shaking the watch immediately after installation; impacts can loosen friction fits.
- Don’t over-tighten case backs or crystals; pressure can push the dial closer to the hands.
- When replacing crystals or gaskets, re-verify clearance.
- If you service your watch later, realign the hands every time you reinstall the dial.
Proper care ensures your alignment lasts as long as the movement itself.
Sourcing Accurate Hands and Tools
Many alignment issues stem from inconsistent aftermarket parts — hole diameters that are slightly off or poorly balanced hands that wobble. That’s why experienced builders prefer verified sellers through Sugargoo, a trusted Taobao agent specializing in watch parts.
With Sugargoo, you can:
- Order Seiko, Miyota, or ETA-compatible hands in calibrated sizes.
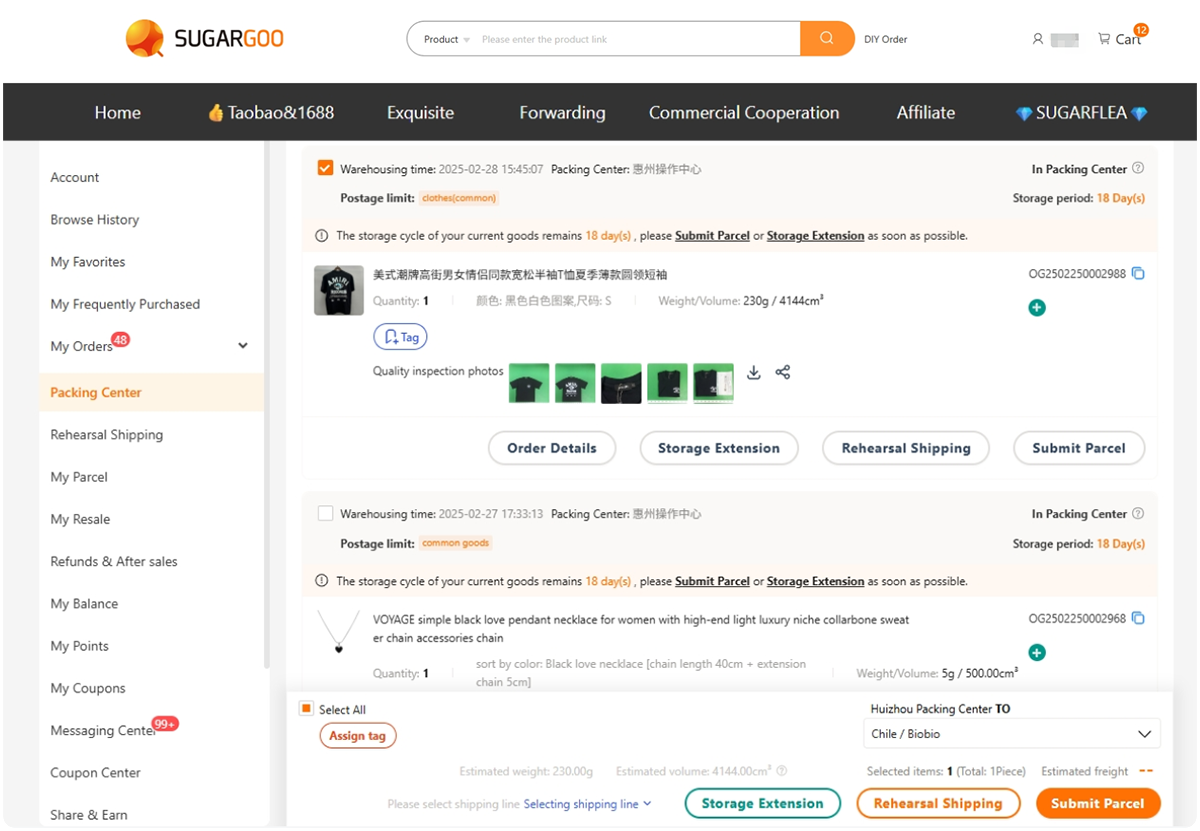
- Combine movements, tools, and accessories into one cost-efficient shipment.
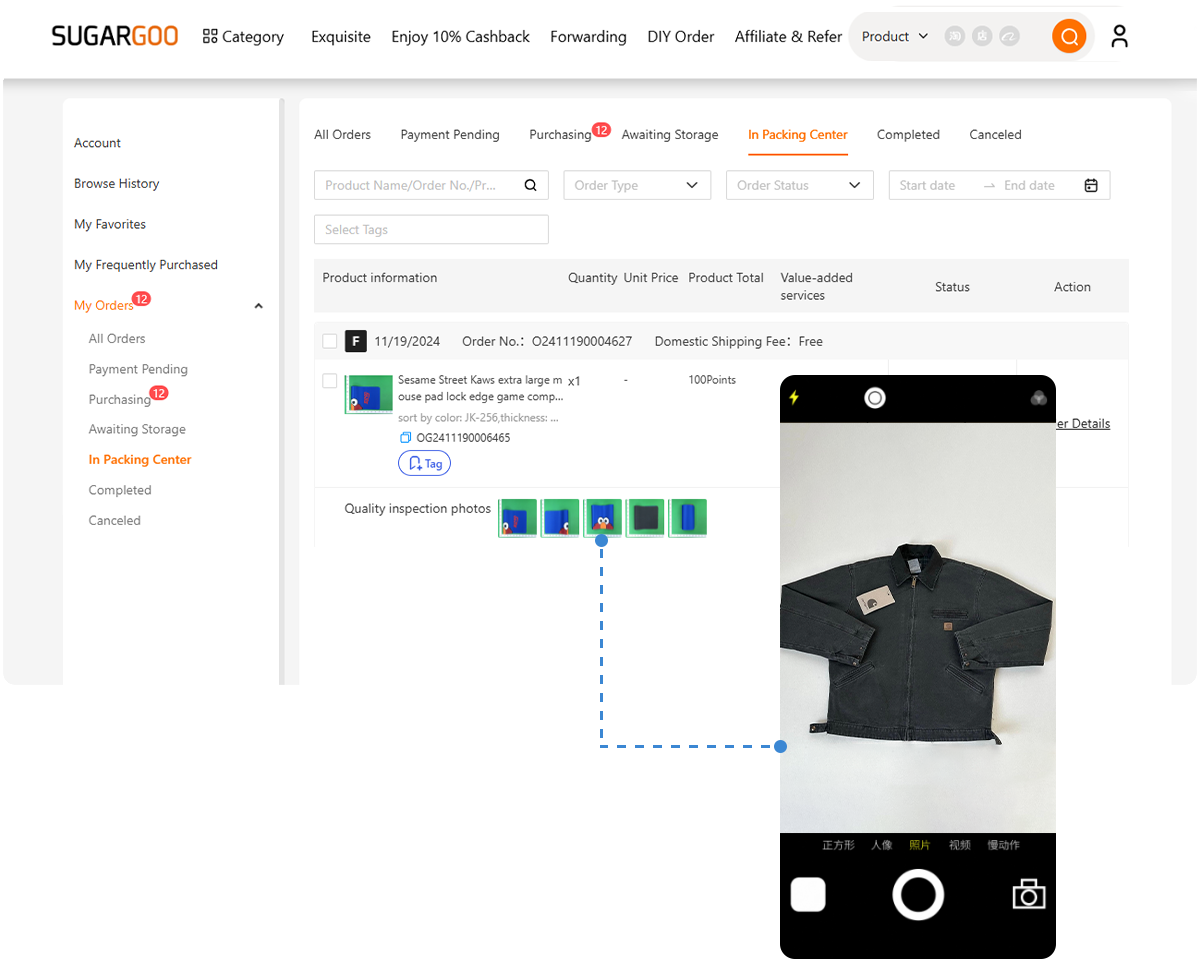
- Request QC photos before items ship. (See our Sugargoo QC service guide.)
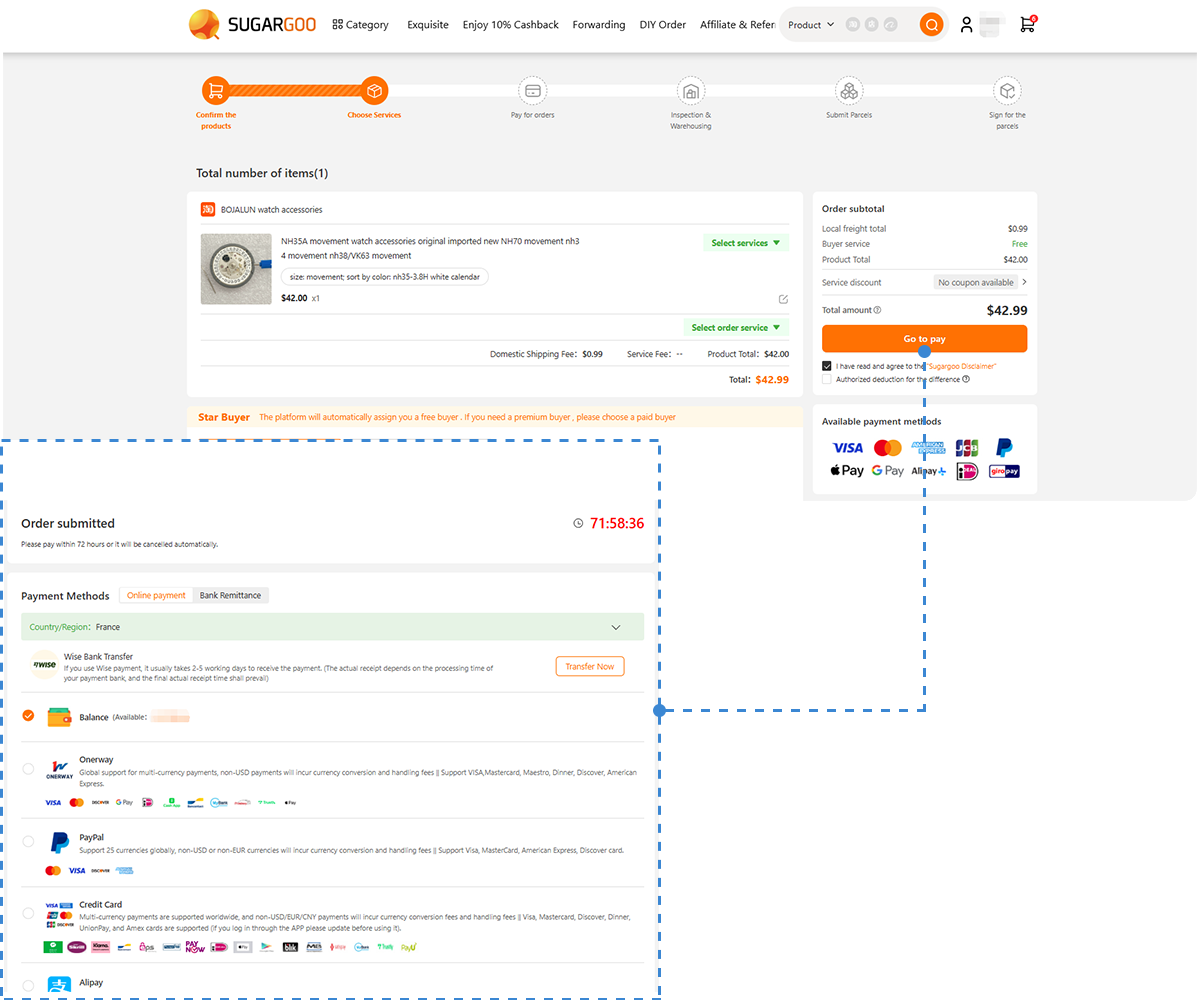
- Save with coupons and track shipments via our tracking guide.
New builders can register for free and start exploring thousands of listings under the custom watch part categories — including luminous hands, skeleton sets, and limited-edition replacements.
Final Thoughts
Aligning watch hands perfectly isn’t luck — it’s a repeatable method based on patience, geometry, and consistent habits. Once you master the process, you’ll notice your builds feel more professional, your timekeeping more reliable, and your satisfaction much higher.
Every time those hands sweep smoothly past twelve in perfect sync, it’s a quiet reminder: precision is built, not guessed.
If you’re ready to take your modding skills further, explore Everything You Need to Start Watch Modding and turn every project into a masterpiece.