There’s something magical about hearing a mechanical watch tick for the first time—especially when you built it yourself.
That small, rhythmic sound means you’ve joined a tradition that’s been alive for over 200 years. It’s part art, part engineering, and part obsession.
And here’s the best part: you don’t need a workshop in Switzerland to do it. All you need is the right movement, a steady hand, a clean desk, and a little patience.
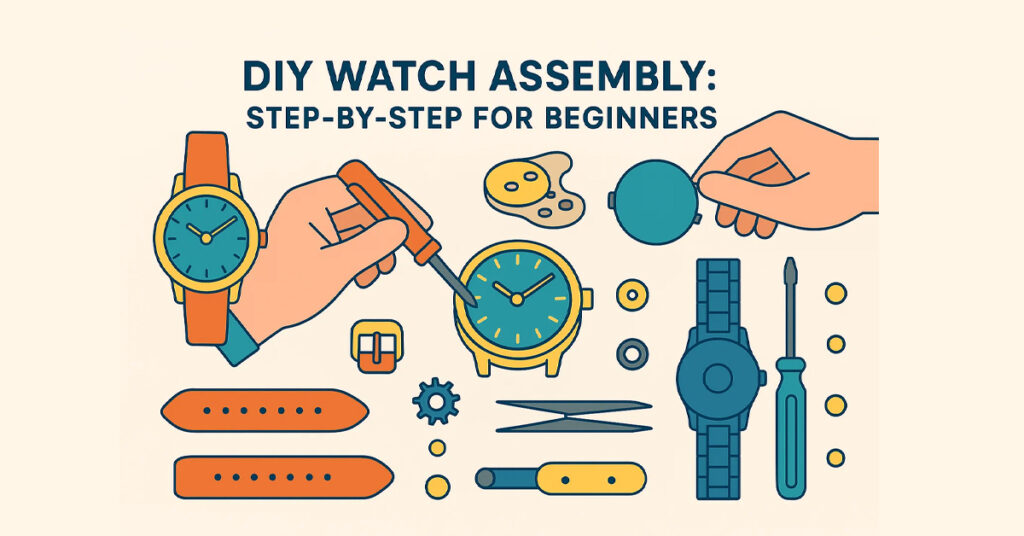
This is your complete guide to DIY watch assembly, written for beginners who want to build their own Seiko-based custom watch—from loose parts to a running timepiece.
1. Setting the Scene: Your Workspace
Before we touch any tools or parts, let’s start where every real modder begins—with the desk.
Your workspace should feel like a surgery room for time: bright, clean, organized, and quiet.
You’ll need:
- A mat or microfiber pad to prevent scratches
- Good white LED lighting (avoid yellow tones)
- A soft wrist rest or folded towel for hand support
- A loupe or magnification lamp
- Small trays or watch parts organizers
Even dust can ruin precision, so wash your hands, tie your sleeves, and keep coffee far away.
Then take a breath. Once you open that first movement holder, you’ll feel the pull of horology for real.
2. The Starter Kit: Tools You Actually Need
You’ll see endless “watch repair tool kits” online, but most contain junk you’ll never touch. Here’s the real list every serious beginner needs, and you can find verified ones on Sugargoo’s watch repair tools page:
| Tool | Use |
|---|---|
| Case opener | Opens your watch case back safely |
| Spring bar tool | Attaches and removes straps or bracelets |
| Tweezers (non-magnetic) | Handling small parts like hands or screws |
| Hand-setting tool | Presses the hour, minute, and second hands evenly |
| Movement holder | Keeps the movement stable while you work |
| Dust blower | Removes dust before closing the case |
| Rodico or cleaning putty | Cleans dial and crystal safely |
| Microfiber cloths | Wipe fingerprints and polish surfaces |
You can upgrade later with a timegrapher, movement oil kit, or ultrasonic cleaner, but for your first build, this toolkit covers everything.
3. Choosing Your Movement
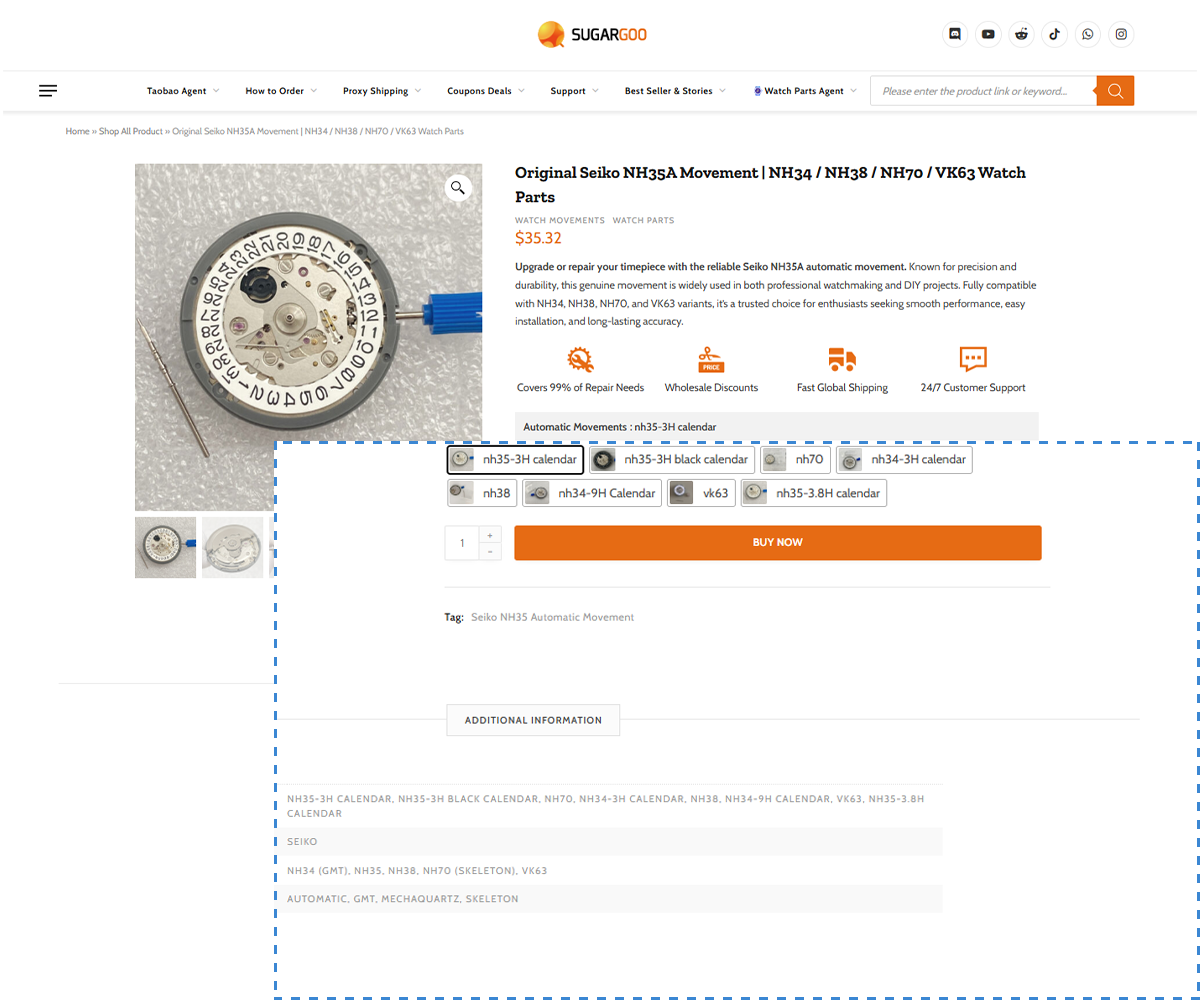
If you’re just getting started, there’s no better movement than the Seiko NH35.
Reliable, widely available, and designed for modding, it’s the movement used by thousands of microbrands—and the go-to engine for custom projects.
- 24 jewels
- 21,600 beats per hour
- 41-hour power reserve
- Date function
- Hacking and hand-winding
You can buy it safely through Sugargoo’s verified movement section or pair it with its sibling NH36 if you want a day-date display.
Just make sure to check your dial’s date window alignment before ordering.
If you’re not sure how to choose, the guide How to Choose the Right Seiko NH35 Movement for Your Build breaks it all down for you.
4. Step 1 – Mounting the Movement
Once your tools and workspace are ready, open the movement carefully and place it into the movement holder.
Always handle it from the edges—never touch the balance wheel or gear train.
Check the crown stem: most NH35 movements come with it pre-installed. If not, insert it gently until it clicks.
Then, turn the crown and watch the gears move for the first time. That’s your heart ticking.
5. Step 2 – Installing the Dial
This is where precision meets patience.
Take your dial—preferably one labeled “NH35/4R35 compatible”—and align its dial feet with the holes on the movement plate.
Press gently with tweezers until it sits perfectly flat. If the dial rocks or lifts, double-check for dust or misaligned feet.
If you’re using an aftermarket dial (for example, from Sugargoo’s custom parts catalog), it might not have compatible feet. In that case, trim them and use dial dots to secure it.
Pro tip: Make sure your date window lines up exactly at 3 o’clock before moving to the next step.
6. Step 3 – Installing the Hands
This is the step that separates patient builders from frustrated ones.
Set the movement to 12:00 AM—when the date just changes—to ensure the hands align properly later.
Now, using your hand-setting tool:
- Place the hour hand first and press lightly.
- Add the minute hand, aligning it perfectly over 12.
- Add the second hand, pushing down gently until it locks on the pinion.
Spin the crown slowly to check alignment through a full 24-hour cycle. If the date changes early or late, lift the hands and reset.
For replacement or decorative hand options, browse watch hands replacements—you’ll find everything from vintage sword hands to modern luminous ones.
7. Step 4 – Placing the Movement Into the Case
Pick your case carefully. The best ones are precision-cut to fit NH35/36 movements—like the ones in Sugargoo’s watch case collection.
Check these before you drop it in:
- Movement fits snugly with no gaps.
- Crown stem passes smoothly through the case tube.
- Dial sits level and centered.
Place a thin gasket if needed, then secure the movement ring and tighten the screws evenly.
Once installed, wind it fully and check the balance wheel from the back—it should move freely, with no rubbing against the case back.
8. Step 5 – Securing the Crystal and Case Back
Before sealing the case, give the inside of your sapphire crystal a quick puff with a dust blower. Even a single speck of dust will haunt you once it’s closed.
Tighten the case back using a case opener tool with firm, even pressure.
If your build includes a transparent case back (and it should—it’s beautiful), make sure it’s screwed in evenly to maintain water resistance.
You can find compatible sapphire and transparent case backs in watch crystals and accessories.
9. Step 6 – Attaching the Strap or Bracelet
Your watch is now mechanically complete. The only thing missing is personality.
Choose your strap carefully—it defines your build’s character.
- Leather straps add warmth and elegance.
- Stainless steel bracelets bring strength and luxury.
- NATO or rubber straps give it sportiness and comfort.
If you’re unsure, compare your options in Leather vs Steel: Which Strap Fits Your Style?.
Attach the strap using your spring bar tool, making sure both ends snap into the lugs securely.
10. Step 7 – Winding, Testing, and Adjusting
Wind the crown about 30–40 turns to fully charge the movement. Then, let it run for a few minutes and observe:
-
✅ Hands sweep smoothly
✅ Date changes at midnight
✅ No dust or fingerprints under the crystal
✅ No rattle or movement inside the case
If it passes all checks, congrats—you’ve built your first functioning automatic watch.
If not, don’t panic. Every modder fails at least once. Troubleshoot with guides like:
- How to Align Watch Hands Perfectly Every Time
- Fixing Date Wheel Misalignment in NH35 Watches
- How to Keep Your Watch Waterproof
11. Optional Step – Regulating Your Watch
If you want to take your build from good to great, regulate the timekeeping.
Use a timegrapher or app to check rate accuracy. The NH35 can be tuned to ±5 seconds per day with a small adjustment of the regulator lever.
If you want a full regulation guide, see Adjust Timekeeping on Your NH35 Watch.
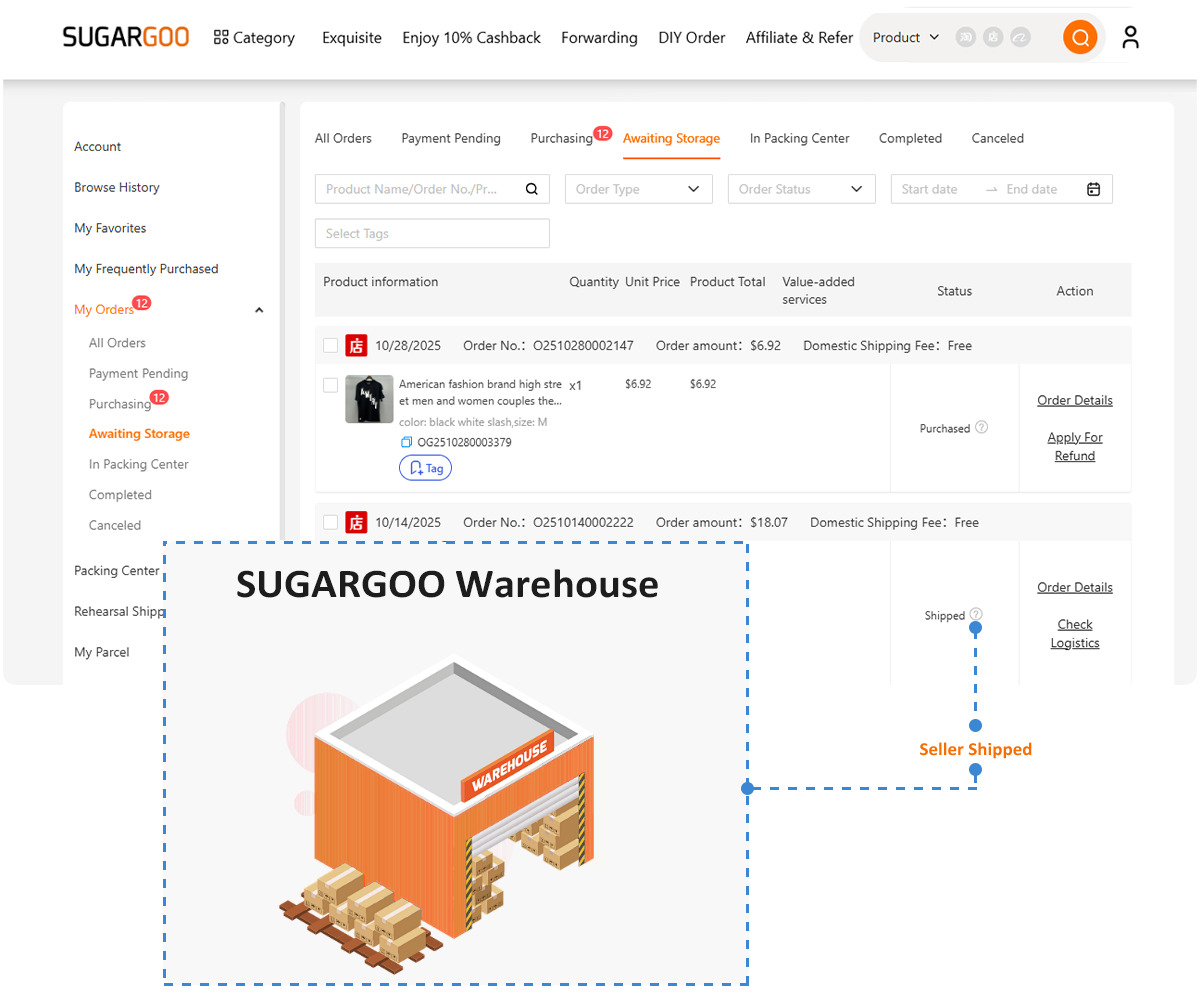
12. Sourcing Trusted Parts: Why Sugargoo Makes It Easy
When you build your first watch, the hardest part isn’t the assembly—it’s sourcing quality parts from multiple sellers.
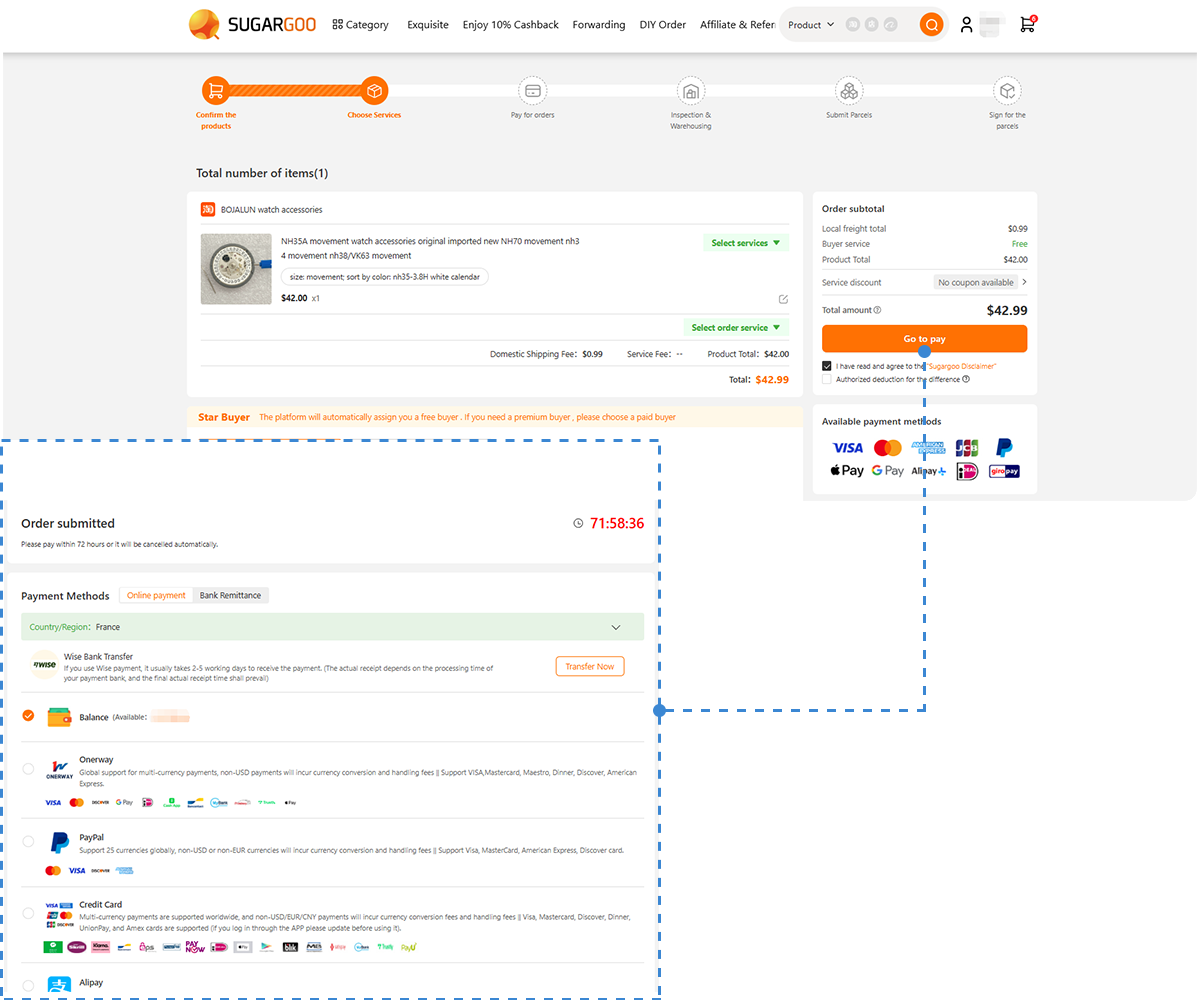
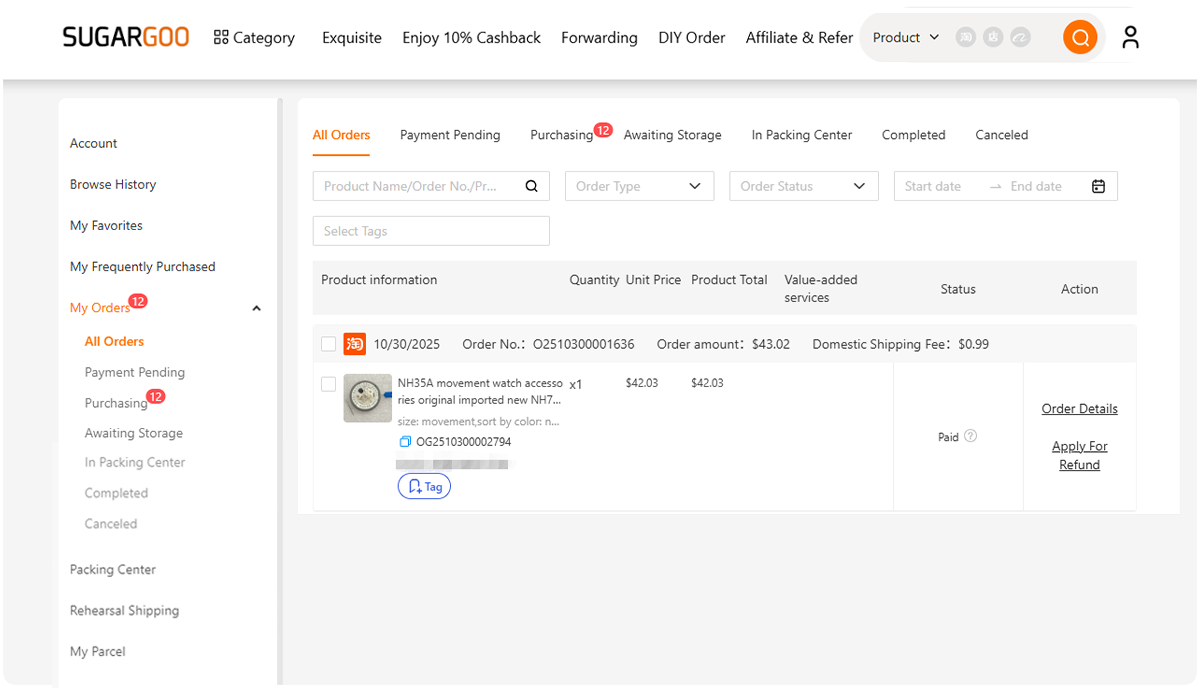
That’s why builders rely on Sugargoo, the international Taobao agent trusted by watch modders worldwide.
Here’s what makes it work:
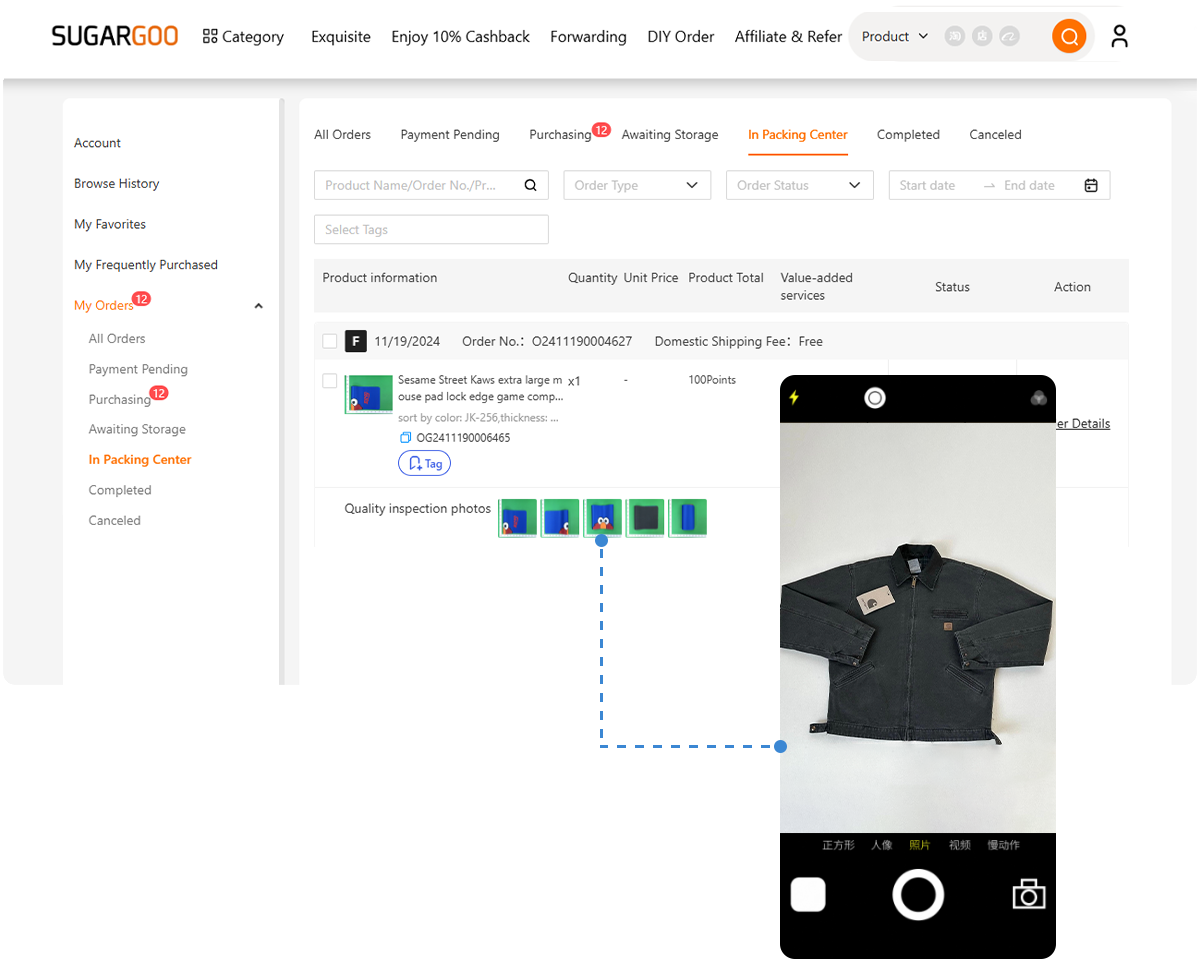
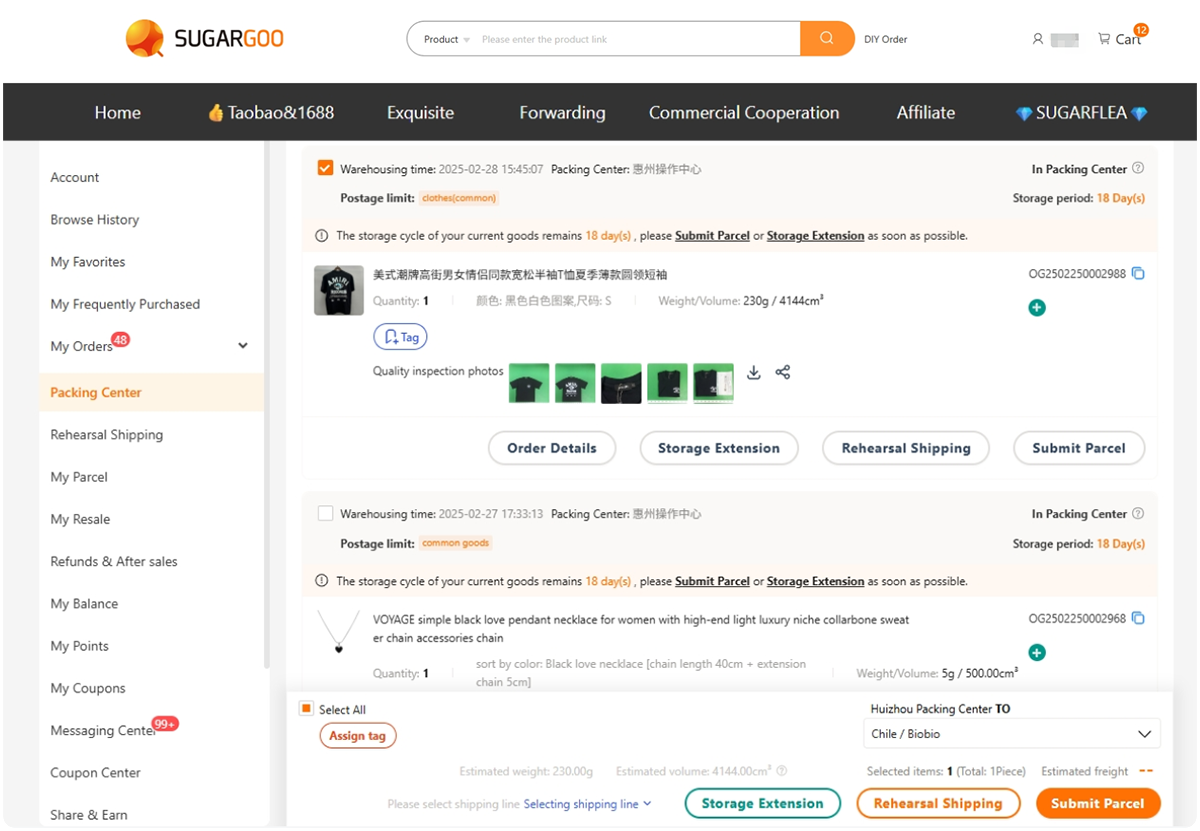
- Verified Seiko-compatible parts with real QC photos
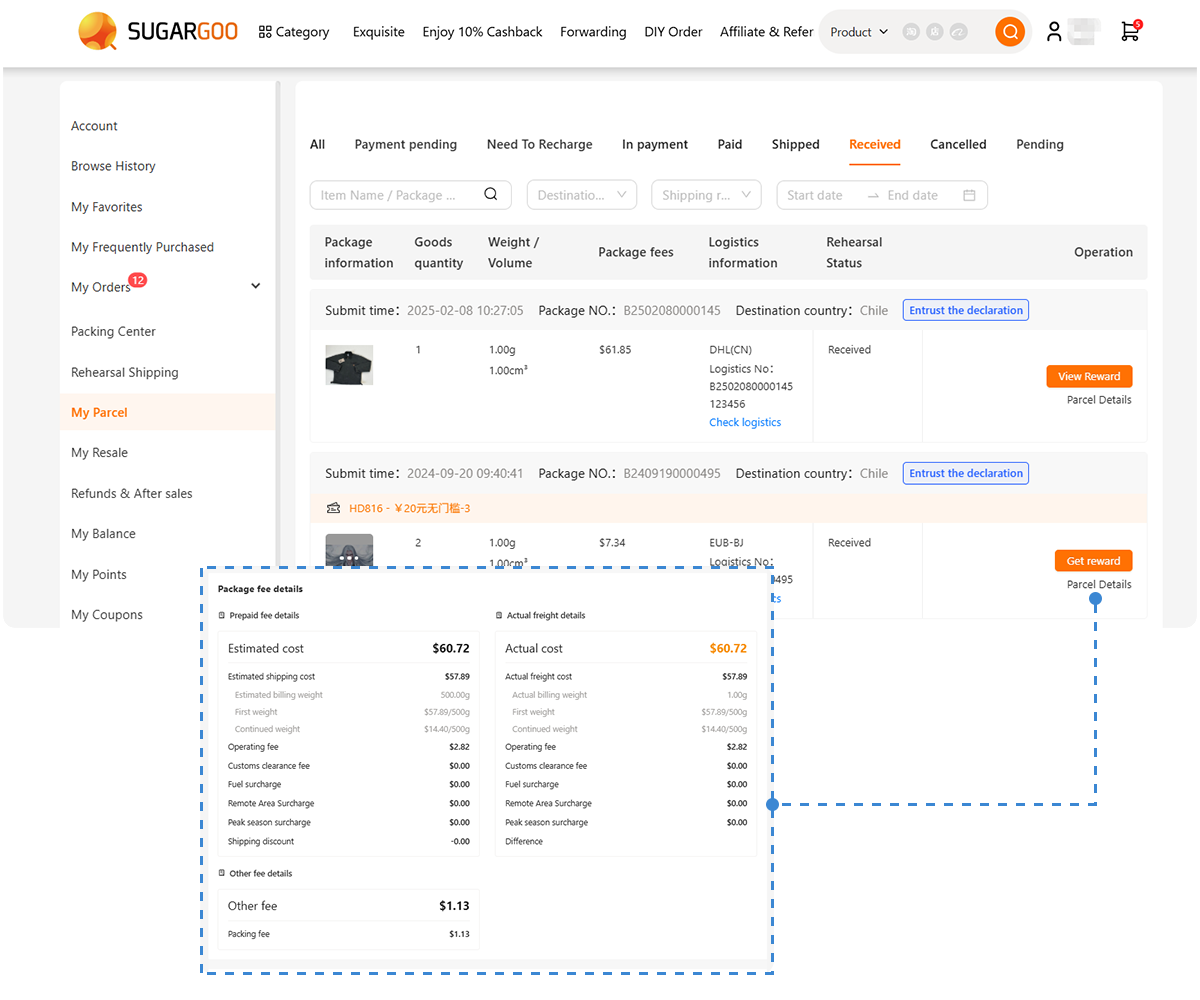
- Combine orders from multiple stores to save shipping
- Dedicated sections for watch cases, movements, tools, and accessories
- Easy registration page for new users
It’s the ultimate sourcing solution for anyone building Seiko NH35, NH36, or Miyota 8215-based custom watches.
13. The Real Lesson: You Don’t Just Build a Watch, You Build Patience
Every mistake you make—a bent hand, a lost screw, a dusty crystal—teaches you more than any tutorial ever could.
By your second or third build, your confidence changes. You’ll start feeling the movement instead of fearing it. You’ll understand the rhythm of screws, the sound of torque, the click of perfection.
That’s when you realize something important: You’re not just assembling a timepiece—you’re assembling your own time.
Every watch you build carries a moment, a mood, a story. And that’s the beauty of DIY horology: it reminds you that time doesn’t just pass—it’s something you can shape.
