There’s a special kind of heartbreak in watch modding. You open your case, remove the hands, lift the dial — and one tiny slip later… a bent second hand, a scratched dial, or dust trapped under the crystal.
If you’ve ever tried replacing a watch dial, you know how delicate it is. It’s not about strength — it’s about control, precision, and patience. This guide will show you how to replace your watch dial safely, whether you’re building a custom Seiko NH35 mod or restoring a vintage case, without bending your hands or marking that perfect dial surface.
1. Why Replace a Watch Dial in the First Place
Watch dials aren’t just decorative — they’re the face of your creation.
Replacing a dial might be for:
- Customization: installing a new Seiko NH35 mod dial with lume or logo
- Restoration: fixing fading, oxidation, or moisture stains
- Aesthetic upgrade: switching from matte to sunburst, or from 3-hand to skeleton
- Compatibility: when using a new case or movement
Whatever your reason, the principle stays the same: Your hands, dial feet, and movement must align perfectly — and your tools must never touch the visible surface.
2. Tools and Setup (The “No Damage” Kit)
You don’t need a full workshop, but you do need the right small tools.
Here’s your setup list (all available via Sugargoo’s Watch Repair Tools):
| Tool | Purpose |
|---|---|
| Hand remover tool | Lifts hands evenly without bending |
| Hand setter | Reinstalls hands precisely |
| Movement holder | Keeps NH35, ETA, or Miyota movements steady |
| Dial protector sheet | Prevents scratches when removing hands |
| Plastic tweezers | Non-magnetic handling |
| Dust blower | Removes invisible particles |
| Loupe (5x–10x) | Check alignment and clearance |
| Dial dots or adhesive | If dial feet don’t align |
| Case cushion | Safe surface for disassembly |
💡 Pro tip: Always work under bright, diffused light — not direct sunlight. You’ll see dust before it lands on your dial.
3. Understanding Dial Feet, Movements, and Fit
Every movement has dial feet positions — small pegs under the dial that lock it into place. If these don’t match, your dial may rotate slightly or sit unevenly, causing hand drag or friction.
| Movement | Dial Feet Position | Notes |
|---|---|---|
| Seiko NH35 / NH36 | 3:00 and 9:00 | Common for Seiko mods |
| Miyota 8215 / 9015 | 2:00 and 8:00 | Slightly offset |
| ETA 2824 / SW200 | 3:00 and 9:00 | Swiss standard |
| ST36 / Chinese | varies | Check before fitting |
If your new dial’s feet don’t match your movement, don’t force it — use dial dots (tiny double-sided adhesives) to secure it instead.
4. Step-by-Step: How to Replace a Watch Dial Safely
Let’s go through the full replacement process carefully — focusing on protecting both dial and hands.
Step 1: Remove the Case Back and Crown
Secure the watch in a case holder.
Use your case opener (like in How to Use a Watch Case Opener Without Scratching) to remove the back.
Press the stem release button (look for “PUSH” marking on NH35) and gently pull out the crown and stem.
⚠️ Do this slowly — never press hard. Damaging the keyless works means a full teardown later.
Step 2: Release the Movement from the Case
Unscrew or lift the movement clamp screws carefully.
Remove the movement using plastic tweezers, not metal ones.
Place it in a movement holder, dial facing up. Avoid touching the dial with fingers — natural oils can leave marks that only show under certain lighting.
Step 3: Protect the Dial Before Hand Removal
Cut a dial protector sheet (thin plastic) and slide it gently under the hands. This layer prevents scratches when lifting them.
If you don’t have one, a piece of soft film or acetate sheet works as a DIY solution.
Step 4: Remove the Watch Hands
Use your hand remover tool (two-prong type or Presto tool).
Position the tips evenly under the hands and lift vertically with a gentle squeeze.
💡 Always remove in order: second → minute → hour.
If one hand resists, don’t twist — that’s how you bend posts. Instead, press again evenly and reattempt.
Set your hands aside on a clean tray or foam pad.
Step 5: Remove the Dial
With hands off, inspect the edge of the dial. You’ll see two small dial feet screws on the movement side (at 3:00 and 9:00 for NH35).
Loosen them half a turn — don’t remove completely. Lift the dial vertically, slowly, using tweezers at the edge.
If the dial sticks, blow gently under it instead of prying.
Step 6: Install the New Dial
Align the dial feet with the holes on the movement plate. Press lightly until it seats flush — no gaps or tilt.
If your dial has no feet, place two dial dots instead — one near 3 o’clock, one near 9 o’clock. Press for 10–15 seconds to ensure adhesion.
Double-check alignment: The 12 o’clock marker should align with the crown tube.
If off-center, rotate gently before tightening screws.
Step 7: Reinstall the Hands
Set the movement to 12:00 position first (both date and time set to midnight).
Place the hour hand first, ensuring it points precisely to 12. Then the minute hand, parallel to it. Finally, install the second hand using a hand press tool — never push with fingers.
After installation:
- Spin the crown slowly.
- Ensure hands don’t rub against each other or the dial surface.
- Watch the second hand sweep without friction.
If hands touch or stick, re-seat them slightly higher.
You can refer to How to Align Watch Hands Perfectly Every Time for precision techniques.
Step 8: Reinstall the Movement and Crown
Insert the movement back into the case.
Align the dial with the crown opening, then gently reinsert the stem and crown until you feel a soft click.
Secure the case back and test the winding and date change functions.
5. Troubleshooting and Fixes
Here’s what to check if something doesn’t feel right:
| Problem | Cause | Fix |
|---|---|---|
| Hands touching or stopping | Hands pressed too low | Reinstall higher using hand setter |
| Dial off-center | Misaligned feet or adhesive | Reposition before tightening |
| Crown won’t reinsert | Misaligned keyless works | Gently rotate stem while pressing |
| Dust under crystal | Static or air draft | Use blower + Rodico putty |
| Date misaligned | Dial not flush | Check seating depth |
Take your time — half of modding is about patience, not tools.
6. Advanced Modding: Upgrading Your Dial Like a Pro
If you’re replacing a dial, you might as well make it yours.
Consider:
- Sunburst gradient dials for a luxury vibe
- Textured dials with applied indices
- Skeleton dials to expose the NH35 movement
- Custom printed dials with your logo or lume pattern
Sugargoo’s Custom Watch Part section connects you to Taobao and 1688 sellers who manufacture or print custom dials compatible with Seiko, Miyota, and ETA movements.
You can even upload a logo or color code to create something unique.
7. Watch Dial Compatibility and Custom Fit
Many modders ask: “Can I use a Seiko dial on a Miyota movement?”
Technically, yes — but it’s not ideal. Feet alignment, date window height, and dial thickness all vary slightly.
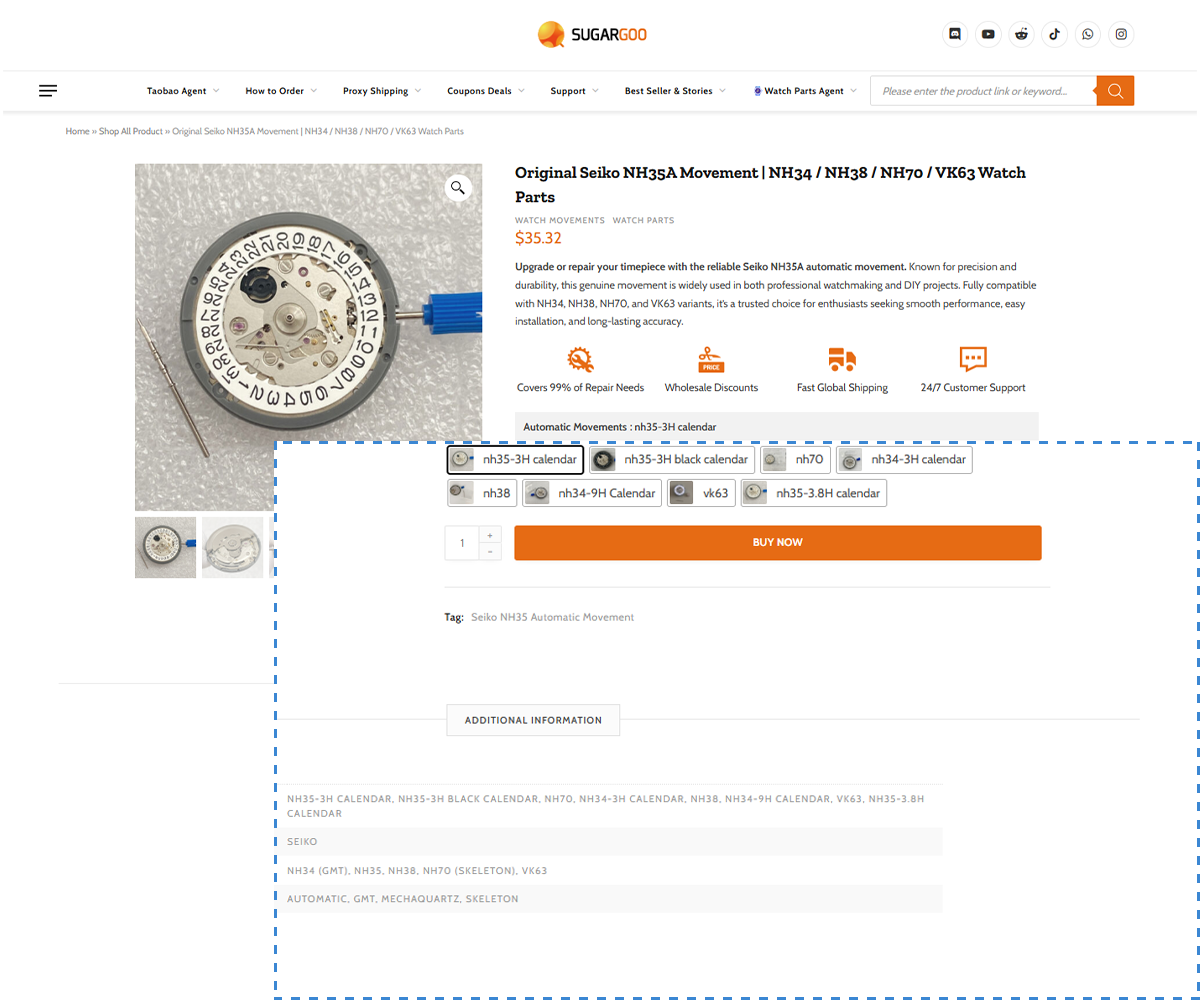
For NH35 and NH36, always use compatible Seiko mod dials — you’ll find hundreds of styles at Sugargoo’s watch dial and movement section.
8. Finishing Touches — Clean, Inspect, Assemble
Before sealing everything:
- Use your blower to remove last dust specks.
- Check the dial reflection under a bright lamp.
- Inspect edges and spacing around the rehaut.
- Gently rotate the hands for clearance check.
If you notice even a tiny fiber — remove it now. Once sealed, it’ll haunt you every time you check the time.
9. Storage and Aftercare
To prevent future issues:
- Store dials in small anti-static sleeves.
- Keep spare hands on foam boards labeled by type.
- Avoid touching dial faces directly.
- Keep humidity below 50%.
If you work often on watches, consider a dedicated workbench setup with a dust dome and air filter.
10. Common Beginner Mistakes
| Mistake | Why It Happens | Prevention |
|---|---|---|
| Using metal tweezers | Leaves micro-scratches | Use plastic tweezers |
| Removing hands without protection | Scratches dial | Always insert dial guard |
| Pressing hands unevenly | Bent hands | Use a hand-setting tool, not fingers |
| Dial adhesive overuse | Uneven seating | Use only two dial dots |
| Ignoring static dust | Fibers under glass | Use blower before sealing |
Replacing a dial isn’t just a mechanical step — it’s a test of self-control. One careless moment and you’ll spend an hour fixing what took seconds to ruin.
11. Where to Buy Watch Dials and Modding Tools
The best thing about today’s modding world? You don’t have to guess.
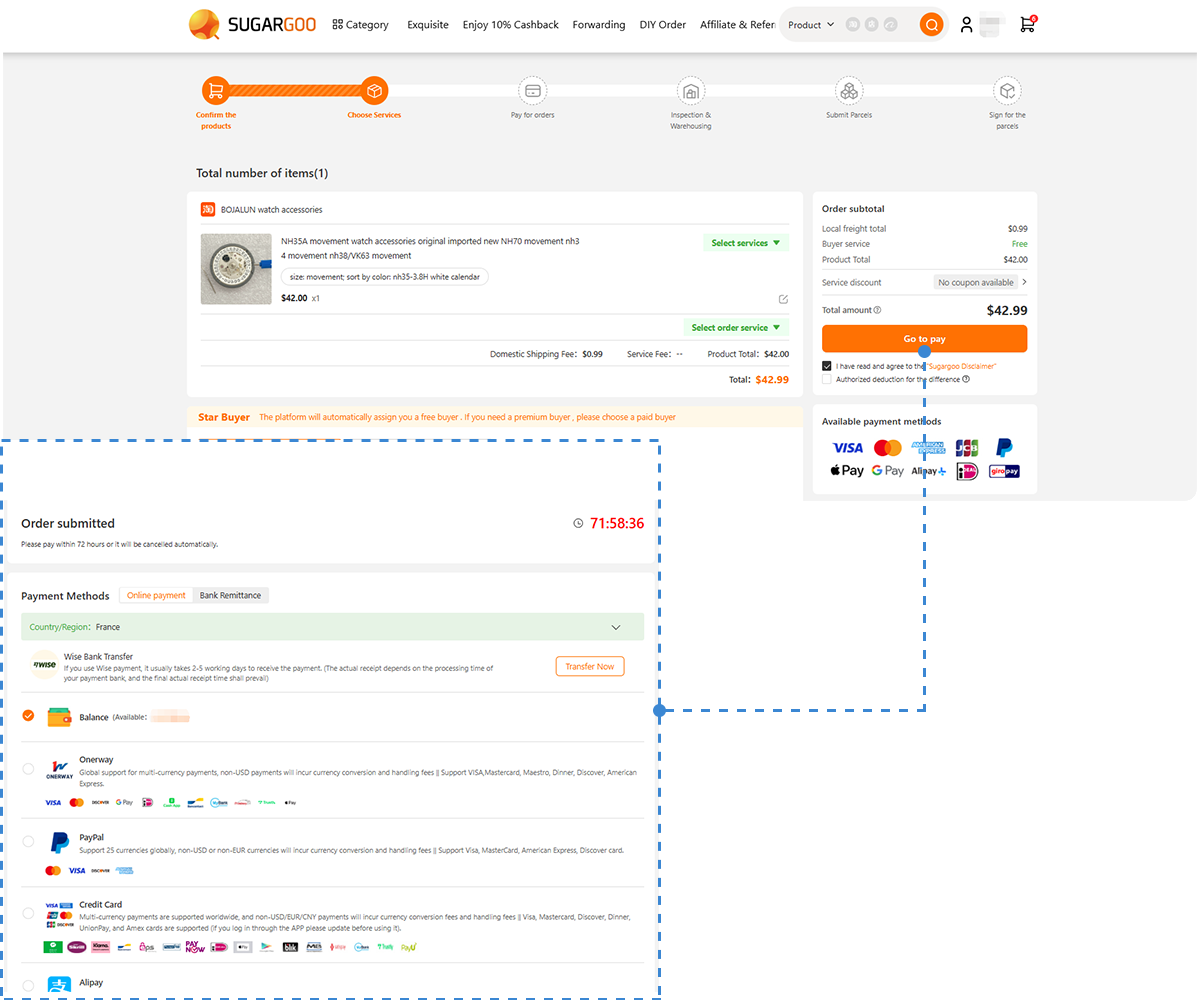
Sugargoo — the trusted Taobao agent for watch modding and Seiko parts — connects you directly to manufacturers who make dials, cases, crowns, and accessories for NH35/NH36 builds.
You can:
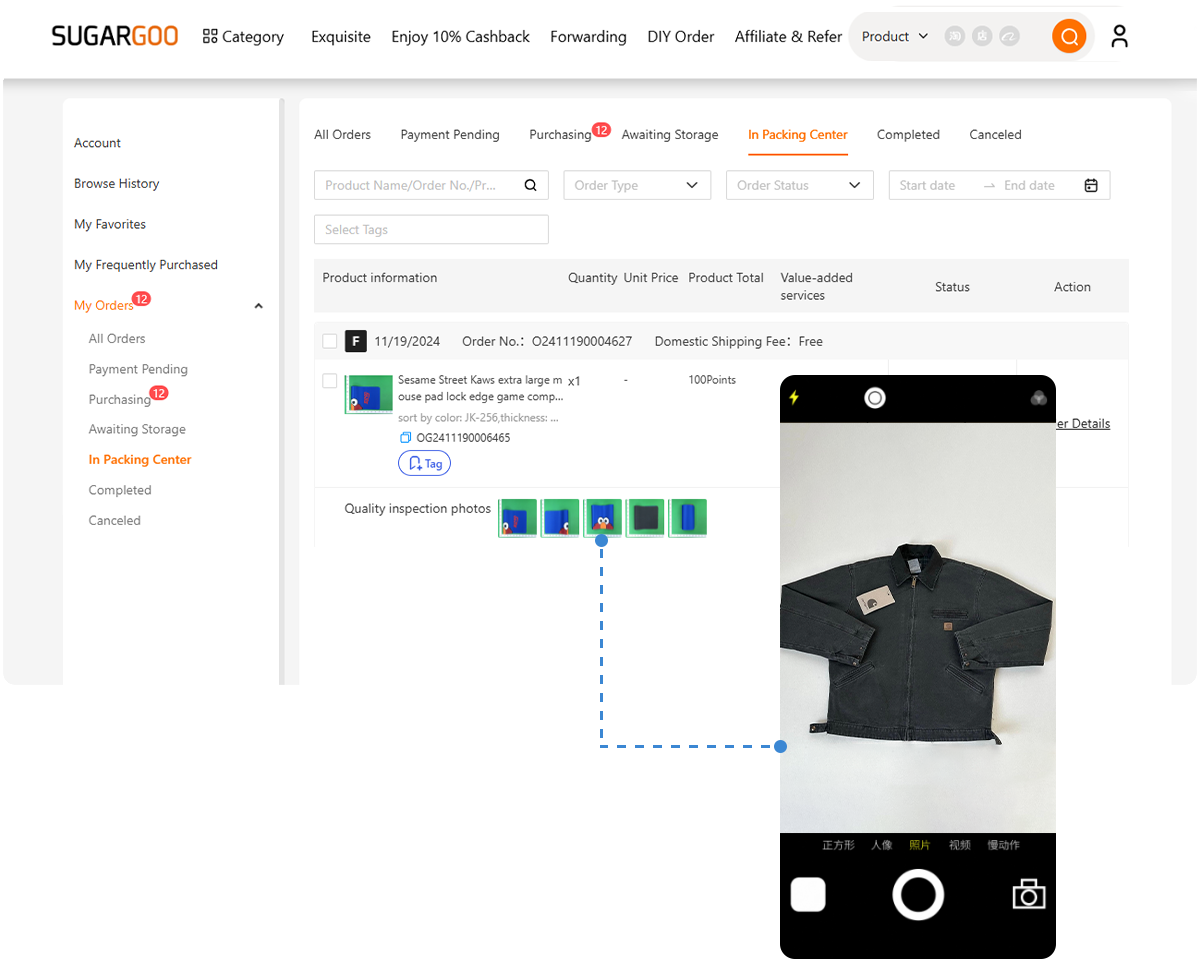
- Order verified dials with QC photos
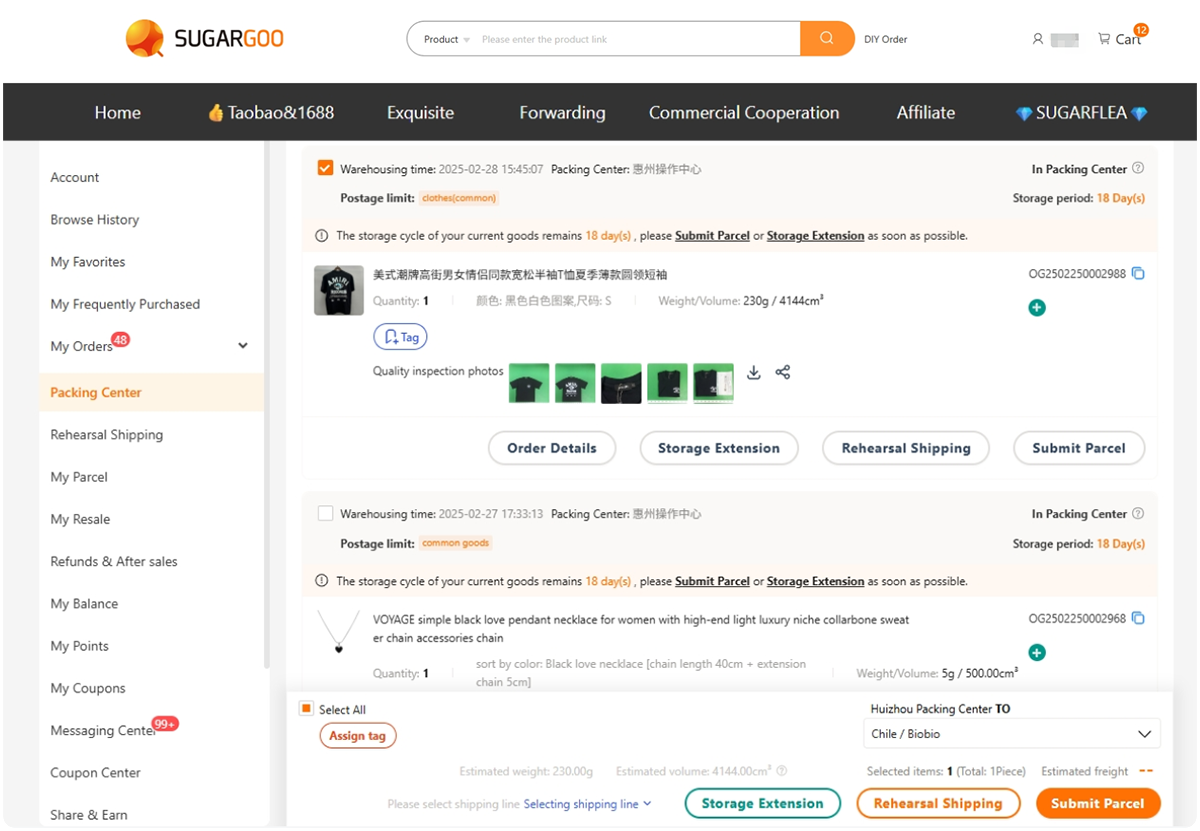
- Mix parts (dial, hands, cases) in one shipment
- Find OEM and aftermarket Seiko dials
- Get repair tools, cleaning kits, and storage boxes all in one place
Visit Sugargoo Watch Parts or explore related guides like:
12. Final Thoughts: Precision in Silence
Replacing a dial teaches you something no YouTube video can: restraint. You learn to breathe slower, to move gently, to listen to your tools.
Because true watchmaking isn’t about rushing — it’s about care. Every polished marker, every hand you realign, every dial you press flat — it’s a reflection of patience measured in microns.
So the next time you sit under your lamp, blower in one hand and tweezers in the other, remember — you’re not just changing how your watch looks. You’re learning how precision feels.